How to install Docker, create an image and run containers
Containerization is a huge part of web and software developement. Its purpose is to create a virtual machine(VM) with lightweight operating system, along with code that runs persistently. Those VMs are called containers, and will work on any computer, thus eliminating “works on my machine 🤷🏼♂️” syndrome. We’ll walk-through the process of creating such container and, hopefully, learn how it isn’t as daunting as it sounds.
This article attempts to show the basics of containerization using Docker.
Contents
- Installing Docker
- Building Docker image
- Running a container
-
Playing with
execcommand - Cleaning everything up
Installing Docker
Go to docker.com, download Docker Desktop and run the installer. After the installation you’ll be asked to reboot your machine. When your system boots run Docker, you will be greeted and prompted to create an account - you can skip this and the survey. Now you should see the application’s UI, here you can use images to build containers and manage them. Close it and start your terminal. By running docker command you should see Docker help text. Let’s pull a test image to test the app.
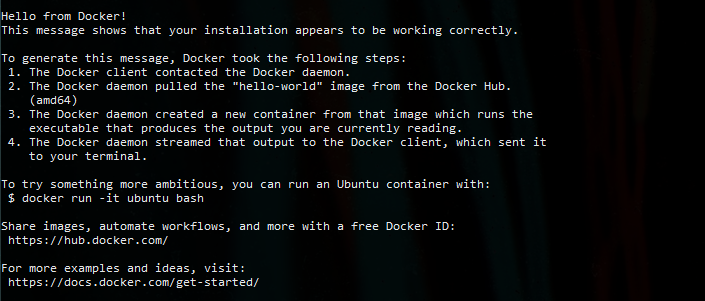
docker pull hello-world
docker run hello-world:latest
The terminal should return:
Building Docker image
The process of creating an image involves providing a series of commands to so called Dockerfile. Then, a tool Docker Build(it comes bundled with Docker Desktop) executes every step from the Dockerfile(notice the first letter is uppercase). Let us now build an image based on Alpine distro containing a text file.
Go to home directory. Begin by creating a new folder with mkdir, let’s name it image, inside, touch(or New-Item ~/image/greet.txt if you’re on Windows Powershell) a new file greet.txt.
cd ~/
mkdir image
cd image
touch greet.txt
Now open the file we created with Nano text editor(it comes prepackaged with many popular distros).
nano greet.txt… or for Windows:
notepad greet.txt
Input “Hello from Alpine” inside it. Press crtl + s to save and ctrl + x to close the editor.
Hello from Alpine
In the same folder, create a Dockerfile. The file’s format looks like that: CAPITALIZED_COMMAND argument. We’ll begin by pulling the Alpine image, it’s a minimal distro well suited for our case.
docker pull alpineWith Alpine downloaded, open the Dockerfile with a text editor. Here are the commands we’re going to input, you can find more in the Dockerfile docs:
-
FROM - used to tell the build tool on which image our
Dockerfileis based. - WORKDIR - specifies the name of working directory of our future container.
- RUN - tells the container to run a command.
- COPY - pretty self explanatory, it copies files from dir to dir (dot means everything within current folder).
FROM alpine
WORKDIR /app
COPY . .
RUN apk update
We created a file that will be used for an image based on Alpine distro, we have set our working directory to /app, copied the Dockerfile and greet.txt. Time to build our image. We can easily achieve this by using build, the -t flag grants a name for the image.
docker build -t my_image .
The command will follow instructions contained inDockerfile informing us about the process. When everything completes, we can use images to list every image we have.
docker images

Running a container
Very nice, we’ve got ourselves an image, time to start it. Using the run command we’ll provide some flags(options), and when it’s complete we’ll receive container’s id. The flags we’ll use, state that we want to run the container in interactive mode (-ti, t - adds a terminal driver, i - prevents the shell process from exiting immediately), detached(-d - meaning it will run in the background), with an environment variable $HELLO, named greet. finally, we specify the name of our image and the command it should run(/bin/sh starts the system shell).
docker run -ti -d -e HELLO=WORLD --name greet my_image /bin/shTo see the list of active containers, try the following command:
docker ps -a
Playing with exec command
That’s great and all, but there’s nothing on the screen, right? Seeing is believing, let’s interact with our container for a bit. We can execute terminal commands on it by using exec. When we ran the container, we provided an environmental variable $HELLO and assigned value of WORLD to it. We can now echo it to us…
docker exec -ti greet sh -c 'echo "$HELLO"'… open the container’s terminal …
docker exec -ti greet sh
… install a text editor with apk package manager…
apk update
apk add nano
… and open the file greet.txt with nano.
nano greet.txtCleaning everything up
Close the file with ctrl + x and close the terminal with exit command. We’ve terminated our connection to the container, let’s now stop and delete it.
docker stop greet
docker rm greet
Delete the image we created and finally check the list of containers and images.
docker image rm my_image
docker ps -a
docker images
Great stuff, we learned basics of containerization, there’s more advanced stuff like connecting containers via virtual network, allowing them to communicate with each other e.g. an app to a database, but that’s a topic for another scribble.